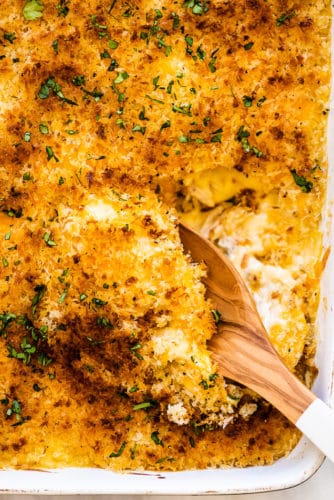
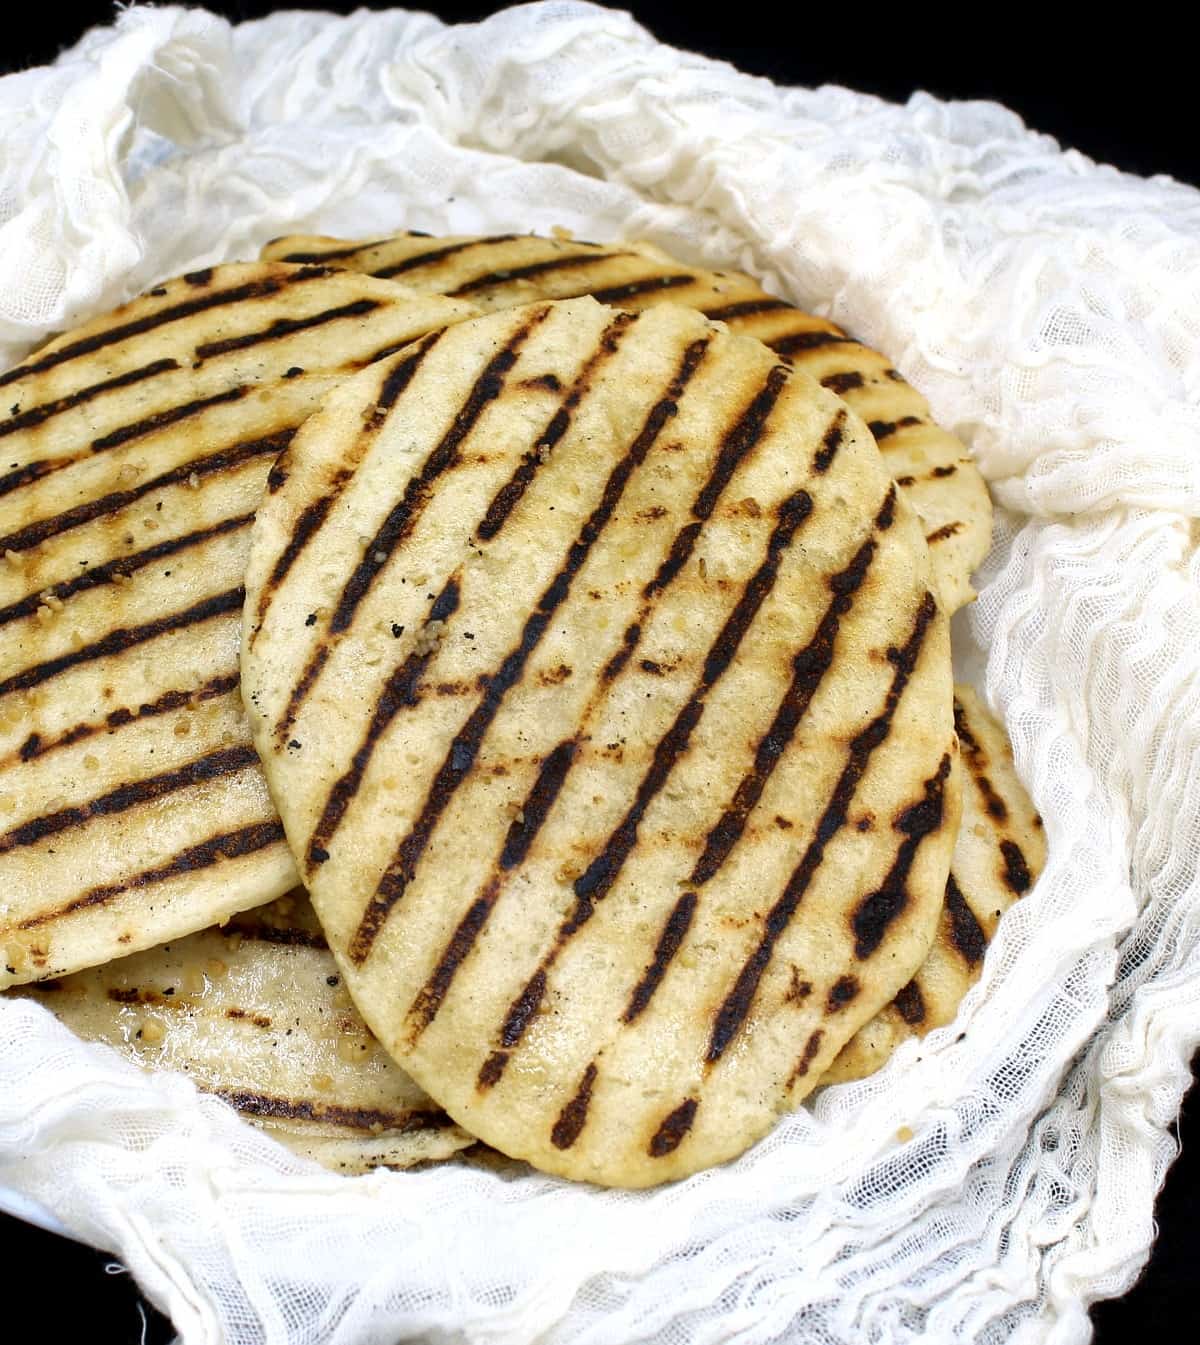
The BEST Cheesy Breadsticks that are easy to make and even better than take-out!
Serve them with a simple marinara sauce or homemade ranch dressing.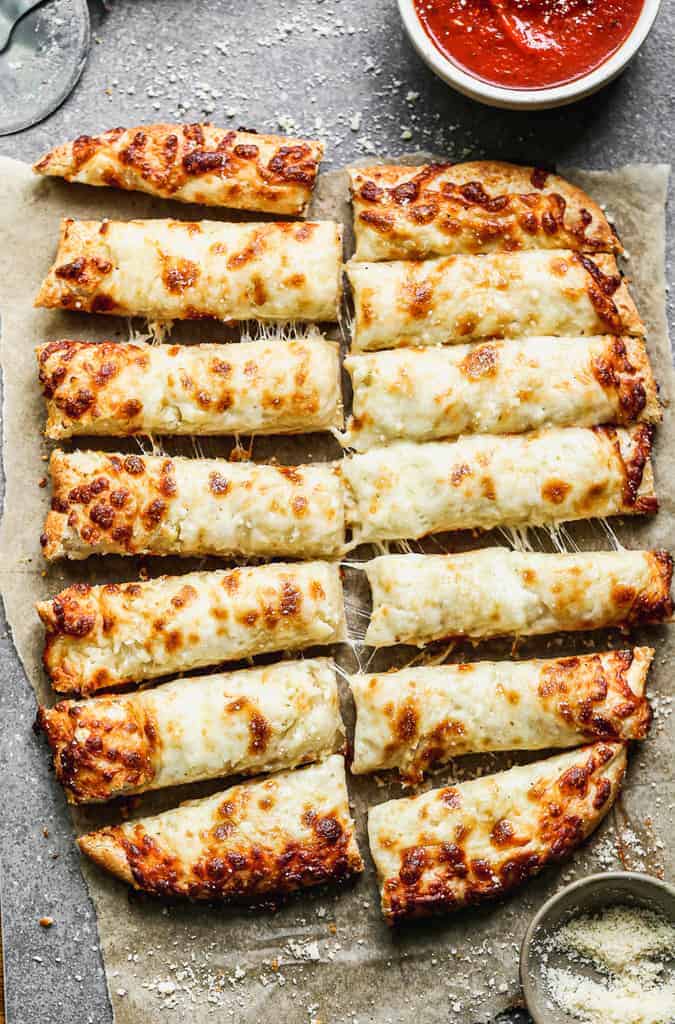
For this recipe I took my favorite homemade pizza crust recipe and halved it, to make one batch of breadsticks. You could make the full recipe for two batches of breadsticks, or use half the dough to make one pizza, and the other half to make cheesy breadsticks.
How to make Cheesy Breadsticks:
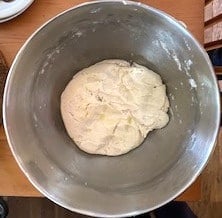
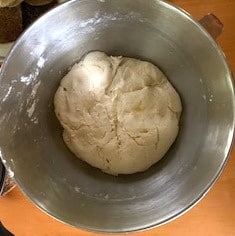
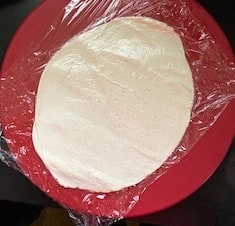
1. Make dough: Combine warm water, sugar and yeast. Let rest for 5 minutes. Add the remaining water, olive oil, salt and vinegar. Gradually add the flour and knead to a soft dough. Cover the bowl with a dry towel and allow to rest in a warm place for 1 hour.
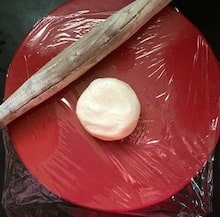
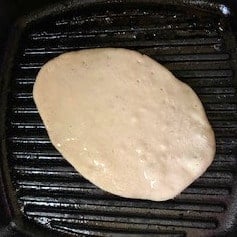
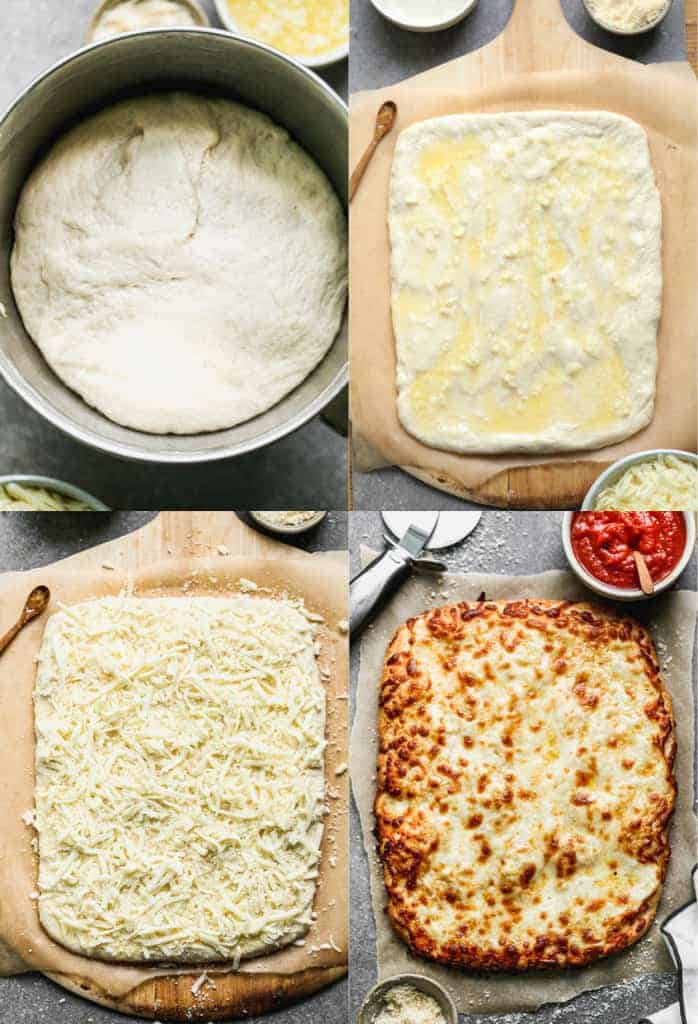
2. Shape breadsticks: Gently punch the dough down, place it on top of a sheet of parchment paper, and use your hands (or a rolling pin, but it’s easier with your hands) to spread the dough into a rectangle about 1/3 inch thick. .
3. Add toppings: Mix melted butter and garlic in a small bowl and spread the butter and garlic mixture evenly over dough, all the way to the edges. Top with parmesan and mozzarella cheeses.
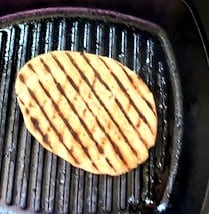
4. Bake: Transfer the dough (still on the parchment paper), gently onto the hot pizza stone or cookie sheet and bake at 500 degrees for about 8 minutes or until golden and bubbly.
Serve with dipping sauces like marina sauce or ranch.
Variations:
- Cinnamon sugar breadsticks: make the dough, form the breadsticks, then top with 1/2 stick of melted butter. Mix 1/2 cup sugar with 2 Tablespoons ground cinnamon and sprinkle over the buttered breadsticks.
- Swap the cheese: feel free to substitute any kind of shredded cheese you like.
- Make pizza: This breadstick recipe is the same as my pizza dough recipe. You can use this recipe to make 1 pizza crust or double it to make pizza and breadsticks!
Make Ahead And Freezing Instructions:
To make ahead: Make the dough 3-4 hours before you want to bake breadsticks, storing it in the refrigerator to rise (instead of at room temperature).
To freeze: Make the dough. Spray it with non-stick cooking spray and place it inside a freezer safe bag. Try to get as much air as possible out of the bag. Freeze homemade dough for 2-3 months. Allow to thaw overnight in the refrigerator. Remove to the counter for 30 minutes before forming into breadsticks.
Breadsticks go with pizza! CONSIDER TRYING THESE POPULAR PIZZA RECIPES:
- White Garlic Chicken and Veggie Pizza
- Loaded Jalepeno Popper Pizza
- Chicken Alfredo Pizza
- Pesto Veggie Pizza
- Garlic Ranch Chicken Pizza
- Barbeque Chicken Pizza
You can also FOLLOW ME on FACEBOOK, TWITTER, INSTAGRAM and PINTEREST for more great recipes!

Cheesy Garlic Breadsticks
Ingredients
Dough:
- 1 1/8 teaspoons active dry yeast
- 1 teaspoon granulated sugar
- 3/4 cup warm water
- 1 1/2 Tablespoons olive oil
- 3/4 teaspoon salt
- 1/2 teaspoon white vinegar
- 1 1/2 - 2 cups bread flour , or all-purpose flour
Topping:
- 1 1/2 Tablespoons salted butter
- 2 cloves garlic , minced
- 1/3 cup freshly grated parmesan cheese
- 1 1/4 cups shredded mozzarella cheese
Instructions
-
In a large bowl or stand mixer combine 1/2 cup of the warm water with the sugar and yeast. Stir to combine and let rest for 5 minutes. Add the remaining 1/4 cup warm water, olive oil, salt and vinegar.
-
Begin mixing on medium-low speed and gradually add the flour --knead for a few minutes, or until the dough is smooth and elastic (it should be slightly sticky, but not so sticky that it sticks to your clean fingertip). Mine is usually ready with 1 1/2 cups flour) Cover the bowl with a dry towel and allow to rest in a warm place for 1 hour.
-
Preheat oven to 475 degrees F with a pizza stone inside or upside down cookie sheet inside.
-
Gently punch the dough down. Place a large piece of parchment paper on your counter and use your hands (or a rolling pin, but it’s easier with your hands) to spread the dough into a rectangle about 1/3 inch thick.
-
Mix melted butter and garlic in a small bowl then spread mixture evenly over dough, all the way to the edges. Top with parmesan and mozzarella cheeses.
-
Transfer the dough (still on the parchment paper) onto the hot pizza stone in the oven. Bake for 8-12 minutes or until golden and bubbly.
-
Serve with dipping sauces like marinara sauce or ranch.
Notes
Nutrition
Have you tried this recipe?!
RATE and COMMENT below! I would love to hear your experience.
I originally shared this recipe February 2017. Updated September 2020.

The post Cheesy Breadsticks appeared first on Tastes Better From Scratch.
from Tastes Better From Scratch https://ift.tt/3cIAbzo