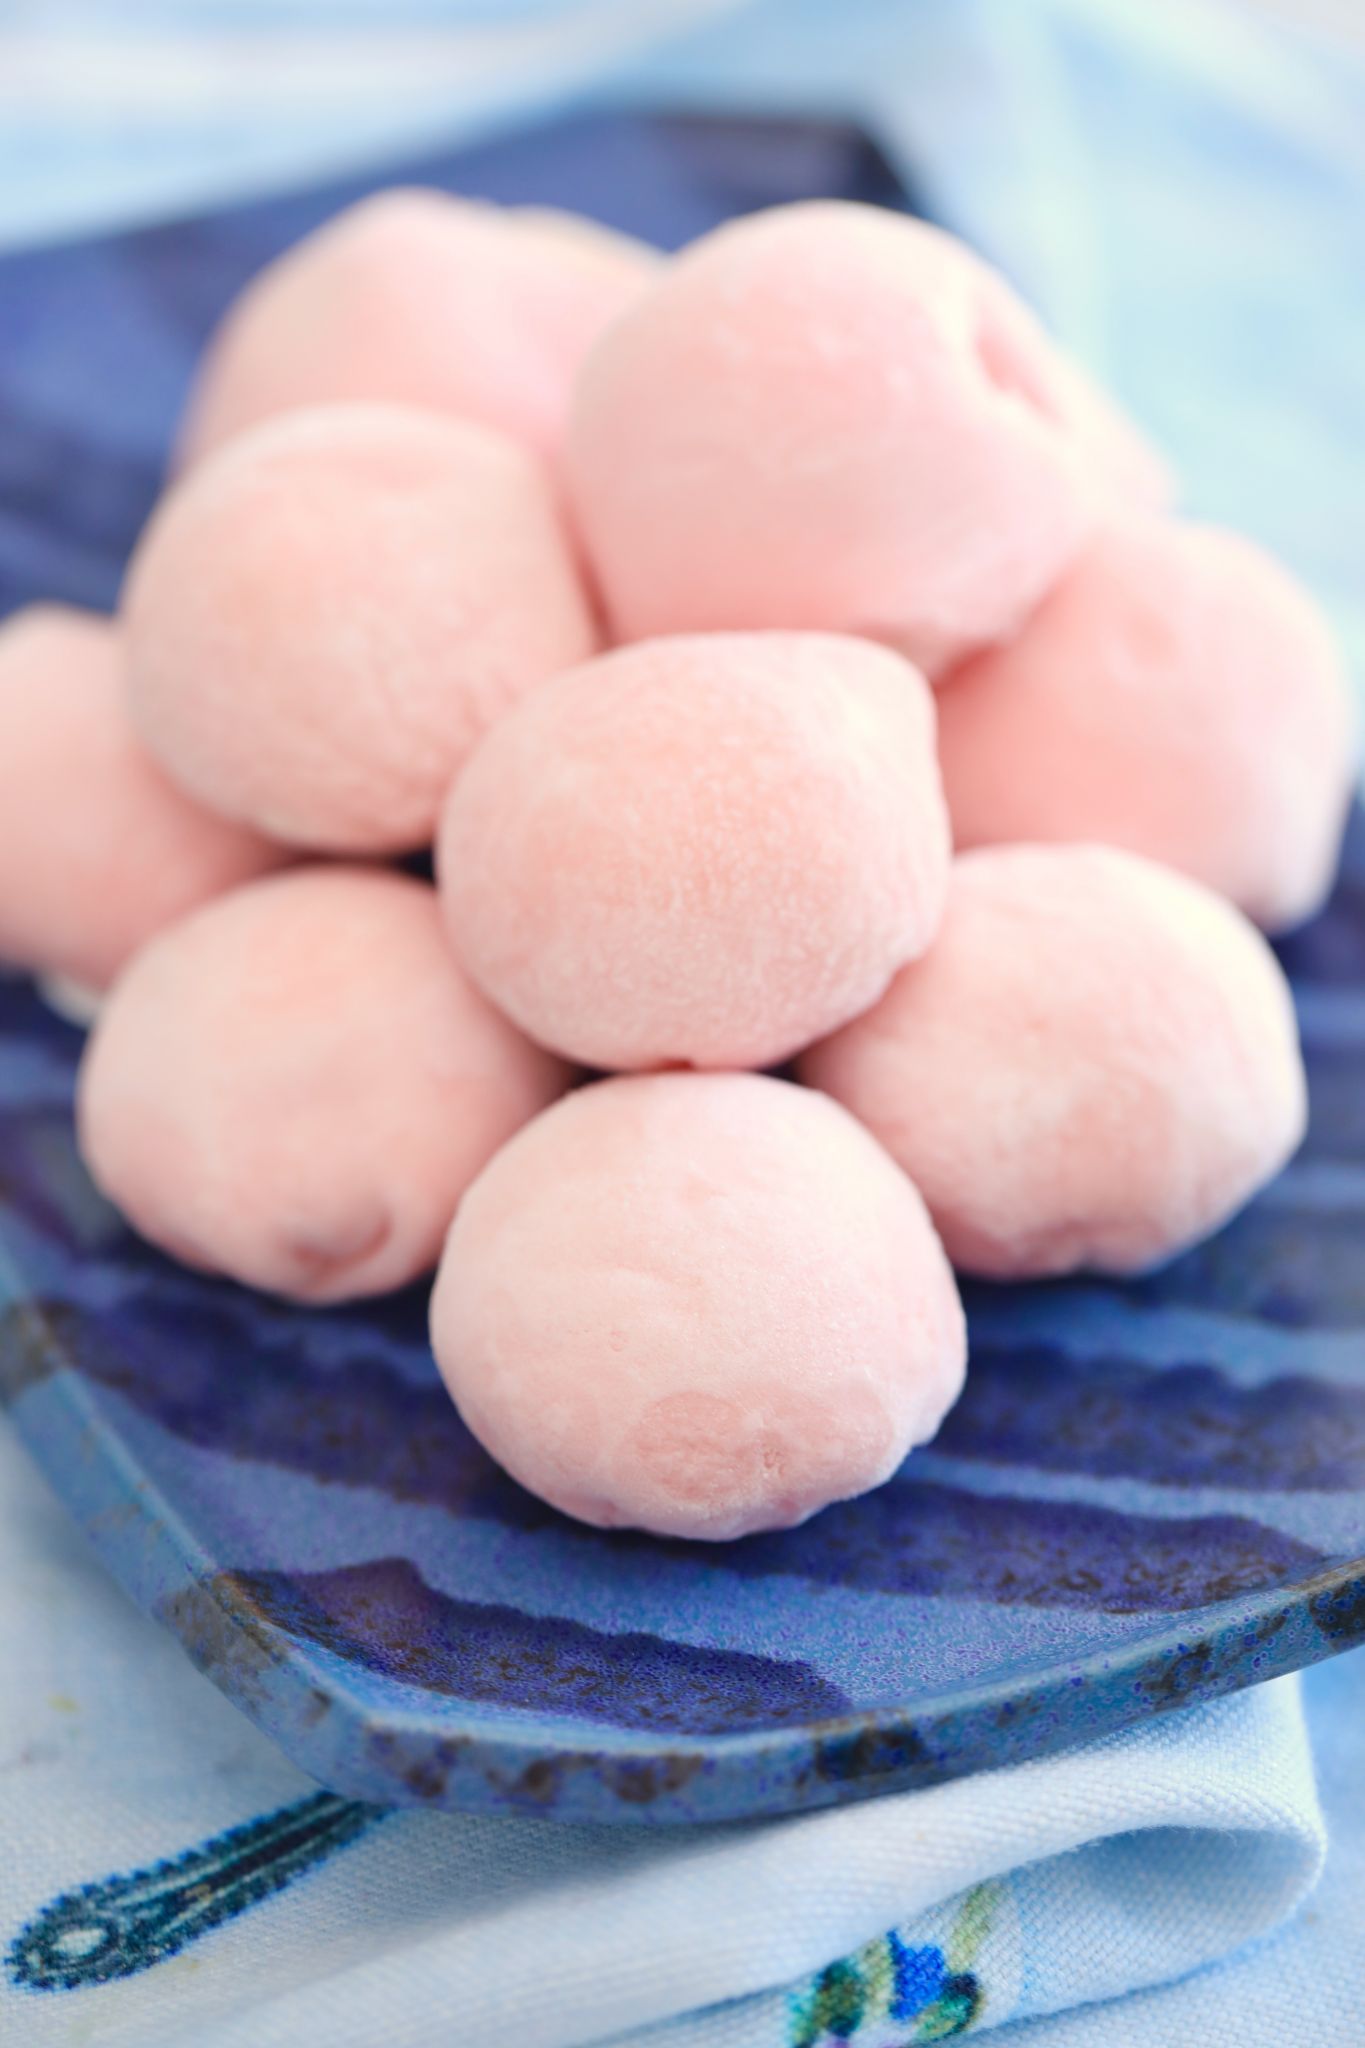
Does anyone else think that one of the best parts about visiting a great Japanese restaurant is ordering mochi ice cream as dessert? With deliciously refreshing ice cream on the inside and perfectly soft and chewy mochi (a Japanese rice cake) on the outside, it’s no wonder that this popular dessert from Japan is popping up in the frozen aisles of grocery stores everywhere.
Making homemade mochi ice cream is so much easier than you would think! And a lot more fun than just opting to toss a package of Trader Joe’s mochi ice cream into your shopping cart.
This mochi ice cream recipe takes just a few minutes to make and is amazingly customizable! I’m using vanilla ice cream, but the sky is the limit here! Feel free to use any storebought ice cream, or my delicious homemade Ube Ice Cream, or even sorbet, to make this dessert truly your own!

What is Mochi Ice Cream?
Mochi is made with glutinous rice, which is turned into flour and eventually into a rice cake. It has a rich history in Japan and, while it’s enjoyed year-round, it’s especially eaten around Japanese New Year.
In this recipe, however, mochi is the sweet rice dough that encases your ice cream of choice. It has an incredible squishy texture and is just slightly sweet, helping to balance out the sweetness of your ice cream of choice.
What You Need To Make Mochi Ice Cream
- Measuring cups
- Small tray
- Parchment paper and plastic wrap
- Ice cream scoop or spoon
- Microwave safe bowl
- Rubber spatula
- Food coloring (optional)

How To Make Mochi Ice Cream
Mochi ice cream is one of those desserts that may seem out of reach for a person to make — but trust me, it is such a simple process! I had never made it before, either. In fact, this is a great project to get the kids involved in the kitchen. Here’s how you make mochi ice cream (and don’t forget to get the full recipe with measurements, on the page down below):
- Using a small ice cream scoop or a spoon, scoop 12 scoops of ice cream, they should be about the size of 2 tablespoons, and place them on a parchment paper-lined tray. Pop this tray into the freezer.
- Combine the sweet rice flour, sugar, and water in a large microwave-safe bowl and cover with plastic wrap. Microwave for 1 minute.
- Stir the rice flour mixture with a whisk to get rid of any lumps, then recover with plastic wrap and microwave again for 1 minute.
- Dip a rubber spatula in water and stir the rice mixture again. Don’t use your whisk this time, as the dough will now be very sticky.
- Cover the mixture one last time and microwave for another 30 seconds. (Stir in your food dye here, if you are using.)
- Place a large piece of parchment paper on your counter and cover it with a generous dusting of cornstarch (or potato starch).
- With a wet spatula, scrape the dough out of the bowl and onto the cornstarch. Dust the top of the dough with more cornstarch.
- Roll the dough into a rectangle shape, no less than 1/4-inch thick. Make sure you keep dusting the top and bottom of the dough with cornstarch to prevent any sticking.
- Once rolled out, place the parchment paper on a cookie sheet and into your refrigerator to set. This will take around 30 minutes.
- After the dough has set, cut circles of the dough using a 3 ¾ inch (9½ cm) cutter. If you don’t have a cookie or biscuit cutter, use an empty tin can or drinking glass.
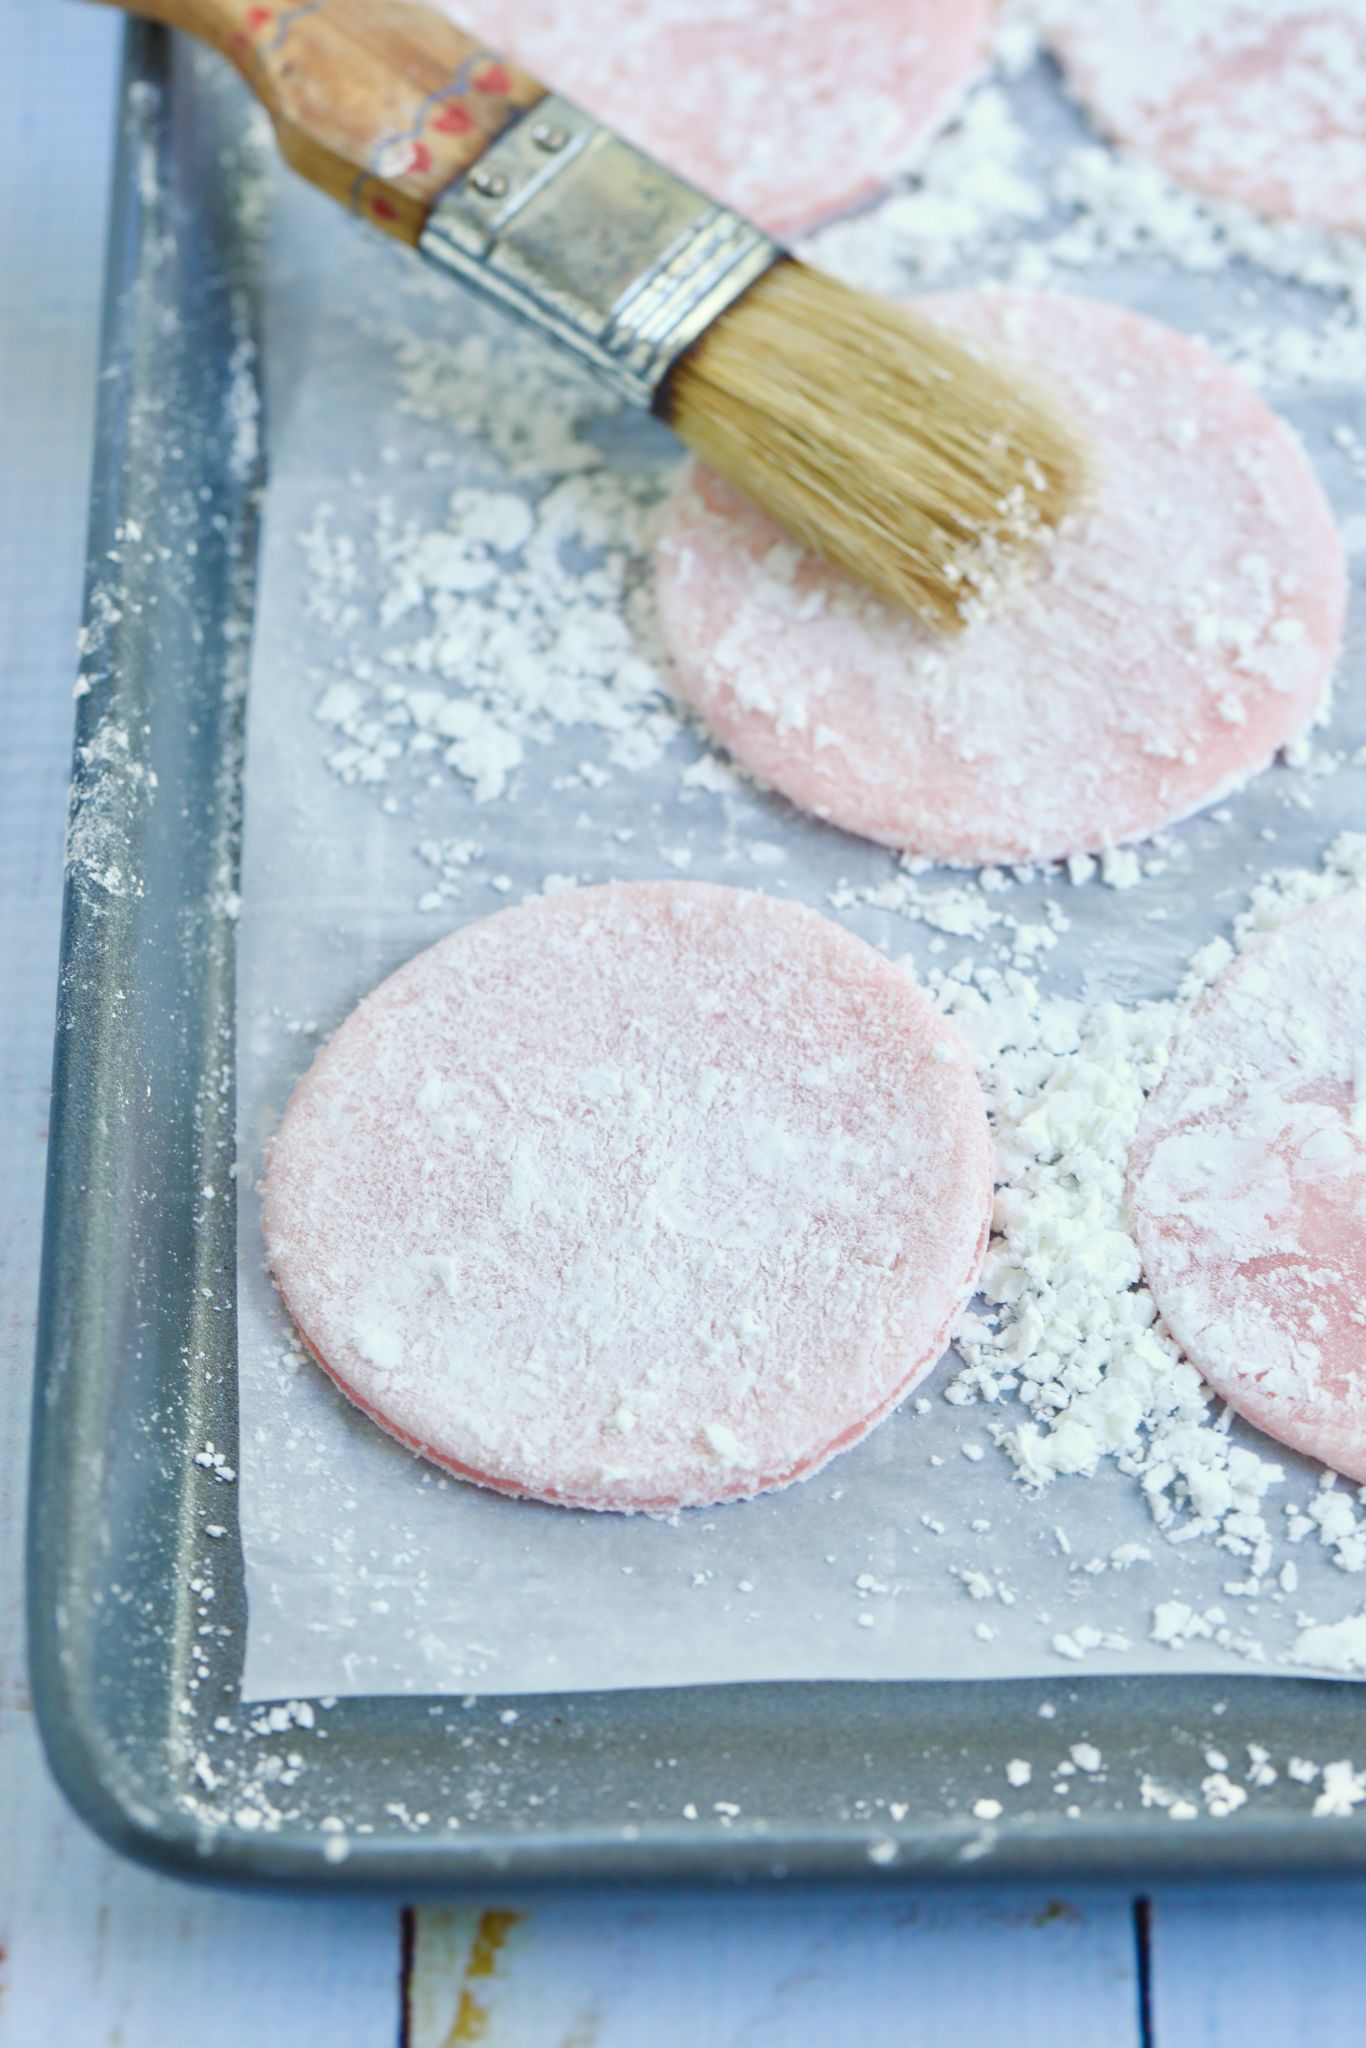
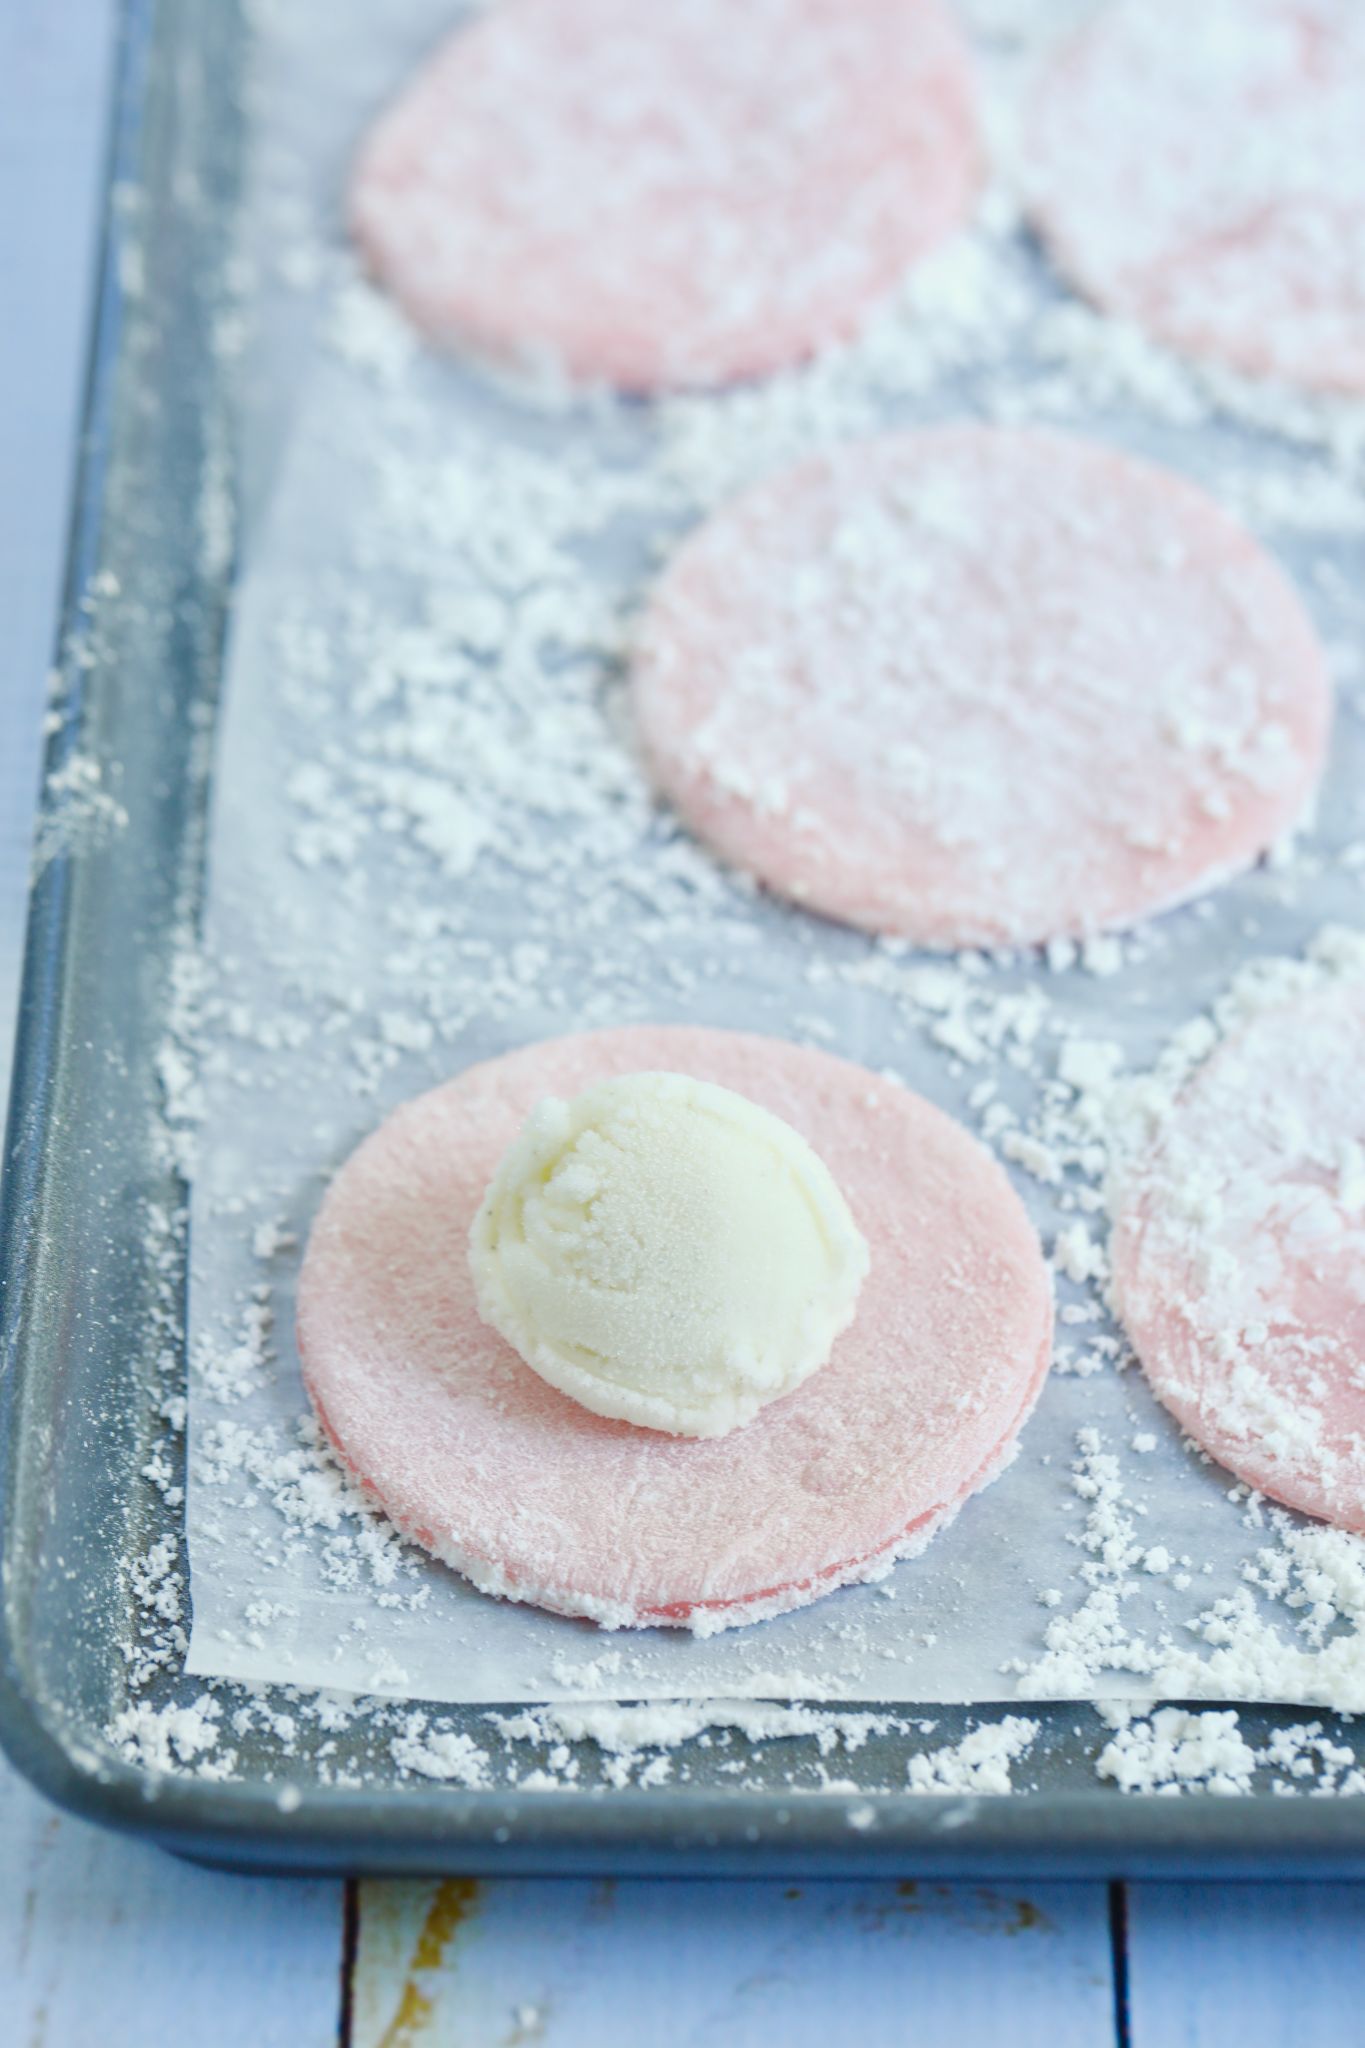
- Pick up one circle of dough and brush off any excess cornstarch. Now, working quickly, take one scoop of ice cream from the freezer and place it in the center of the circle. Press the dough’s edges around the scoop of ice cream, forming a ball, and squeeze to seal.
- To help preserve its shape, wrap the mochi ice cream ball in cling wrap and place them seam side down back in the freezer to set. Repeat with the remaining circles of dough and ice cream balls.
- Allow the mochi to freeze for a minimum of 2 hours.
- When ready to eat, let the mochi ice cream sit for a few minutes to soften.
Gemma’s Pro Chef Tips for Making Mochi Ice Cream
- As I’ve said, mochi dough is very sticky, so don’t be shy about using your cornstarch! It will help you handle the dough, and any excess will brush off easily once you’re ready to assemble the mochi balls.
- Keep your tools and ice cream cold, especially your ice cream scoop, and work with only one ice cream ball out of the freezer at a time.
- To help the mochi balls retain their round shape, wrap them in plastic wrap. You can also use an empty egg carton in the freezer to make sure they stay seam-side down.
- Check the wattage of your microwave, as your cooking times may be slightly different. The times in this recipe were written with my 1200 watt microwave in mind.
- Regular rice flour will not work for this recipe. You will need sweet rice flour.
- Buy sweet rice flour at any local Asian grocery store or find it online! I use Mochiko Sweet Rice Flour, which you can purchase on Amazon.

How Do I Store Mochi Ice Cream?
Homemade mochi ice cream can be kept in an airtight container in your freezer for up to 1 week. Make sure when you’re ready to eat, you let them sit out for a few minutes to soften before biting in!
Make More Ice Cream!
- Homemade Ice Cream with Only 2 Ingredients
- Homemade Strawberry Gelato
- 3 Ingredient Ube Ice Cream
- Homemade Sorbet in 5 Minutes
And don’t forget to buy my Bigger Bolder Baking Cookbook!
Full (and printable) recipe below!

Simple Japanese Mochi Ice Cream Recipe
Ingredients
- 1 ½ cups (8oz/225g) vanilla ice cream
- 1 cup (5½oz/160g) sweet glutinous rice flour
- 1/4 cup (2oz/57g) granulated sugar
- 1 cup (8oz/225ml) water
- A few drops of red food coloring (optional)
- Cornstarch for dusting (or potato starch)
Instructions
-
Line a small tray with parchment paper.
-
With a small ice cream scoop or spoon, scoop out twelve 2 tablespoon-sized scoops of ice cream (about .75oz /20g) onto the prepared and place in the freezer.
-
In a large microwave-safe bowl combine the sweet rice flour, sugar, and water, cover with plastic wrap and microwave for one minute.
-
Stir the rice flour mixture with a whisk to remove any lumps, re-cover with the plastic wrap, and microwave for another minute.
-
Dip a rubber spatula in water and stir the rice mixture again (do not use the whisk this time - it will be too sticky).
-
Cover the rice mixture one more time and microwave for another 30 seconds. It will now be a sticky dough. If adding in food dye stir it in at this point until it's evenly throughout the dough.
-
Place a large parchment paper on your counter and cover the paper with a generous dusting of cornstarch (or potato starch).
-
With a wet spatula, scrape the dough onto the cornstarch and dust the top of the dough with more cornstarch.
-
Roll the dough into a rectangle no less than 1/4 inch thick (about 12x14inches/30x35cm). Keep dusting the top and bottom of the dough with cornstarch as you roll or it will stick.
-
Once the dough is rolled out, place the parchment paper on a cookie sheet and place in the refrigerator to set for 30 minutes.
-
Once the dough has set, cut circles of dough with a 3 ¾ inch (9½ cm) cutter.
-
Pick up one circle of dough and brush off the excess cornstarch from both sides.
-
Working quickly, take one scoop of ice cream, place in the center of the circle flat side facing you. Press the edges of the dough together around the ice cream ball, squeezing to seal.
-
Wrap the mochi ice cream balls in cling wrap and place seam side down back in the freezer to set. You could use an egg carton to keep them upright. Repeat with remaining circles of dough and ice cream balls. Allow mochi to freeze totally for a minimum of 2 hours in the freezer.
-
When ready to eat, remove from the freezer and let sit for a few minutes to let soften.
-
Store in an airtight container in the freezer for up to 1 week.
Video
The post How to Make Japanese Mochi Ice Cream appeared first on Gemma’s Bigger Bolder Baking.
from Gemma’s Bigger Bolder Baking https://ift.tt/3icO4rd
via IFTTT


No comments:
Post a Comment